

Chicago Ceiling Painting – Everything you need to know in 5 minutes!
Looking to paint your ceiling but not sure where to start? Look no further! In this quick tutorial, we will cover everything you need to know about painting a ceiling in just 5 minutes. From choosing the right roller to understanding which direction to paint and how to cut in, all your questions will be answered.
Whether you’re a DIY enthusiast or a novice painter, this article will provide you with the essential tips and tricks to achieve a professional-looking ceiling. So grab your paint equipment and let’s get started on transforming your space!
PAINT EQUIPMENT
painting a room is an exciting project that can instantly transform the look and feel of your space. To achieve professional-looking results, it is important to choose the right paint equipment. From rollers to pans, extension poles to strainers, and buckets to paint preparation, each element plays a crucial role in ensuring a smooth and efficient painting process. So, let’s dive into the world of paint equipment and explore the various options available to you.
Choosing the right roller
When it comes to choosing a roller, there are a few factors to consider. The first is the type of surface you’ll be painting. For smooth surfaces, a short-nap roller would be ideal, while textured surfaces may require a longer-nap roller to reach all the crevices.
Additionally, the size of the roller can affect your painting experience. A wider roller covers a larger area quickly, while a narrower one allows for more precision in corners and smaller spaces. Finally, don’t forget to take into account the type of paint you’ll be using. Some rollers are specifically designed for oil-based paints, while others work better with latex paints.
Selecting a pan and extension pole
A paint pan and extension pole are essential tools that make your painting job much easier. When choosing a paint pan, opt for one with a sturdy handle and a metal tray for durability. Look for pans with ridges to remove excess paint from the roller, and make sure it has a deep well to hold an adequate amount of paint without spilling. As for the extension pole, it allows you to reach high places with ease, without the need for a ladder. Look for a pole that is lightweight, adjustable, and compatible with both rollers and brushes.
Using a strainer and bucket
To ensure a smooth and even application of paint, it is important to strain it before pouring it into a roller tray or paint pan. A strainer helps remove any lumps, debris, or dried paint particles that may have accumulated in the can.
It not only prevents clogging in your painting tools but also helps achieve a professional finish. Additionally, using a bucket instead of a paint can makes it easier to dip your roller without splashing or spilling paint. Look for a bucket with a built-in grid to remove excess paint from the roller and prevent messy drips.
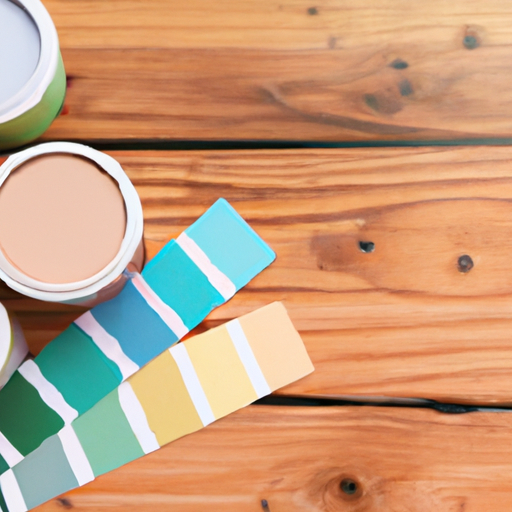
Preparing the paint
Before starting your painting project, it is crucial to properly prepare the paint. Begin by thoroughly mixing the paint can to ensure uniform consistency. This step is particularly important if the paint has been sitting for a while or if it was previously opened.
Use a paint stir stick or a handheld mixer attachment for better results. Once the paint is properly mixed, transfer it to a paint pan or roller tray, ready for use. Take care not to overload your roller or brush with too much paint as it can lead to drips and uneven application.
Covering the floor and wearing glasses
While painting, it is essential to protect your floor and yourself. Lay down drop cloths or plastic sheets to cover the floor and prevent any accidental paint spills or splatters.
This will make cleaning up much easier and save your floors from potential damage. Additionally, wearing safety glasses or goggles is highly recommended to protect your eyes from paint splatters, especially when working overhead or in confined spaces. Safety should always be a priority when it comes to painting.
PAINTING TECHNIQUE
Now that you have all the necessary paint equipment, it’s time to learn some painting techniques that will help you achieve professional-looking results. From determining the direction of painting to watching for ridges and perfecting corner painting, these techniques will make your painting process smoother and more efficient.
Determining the direction of the painting
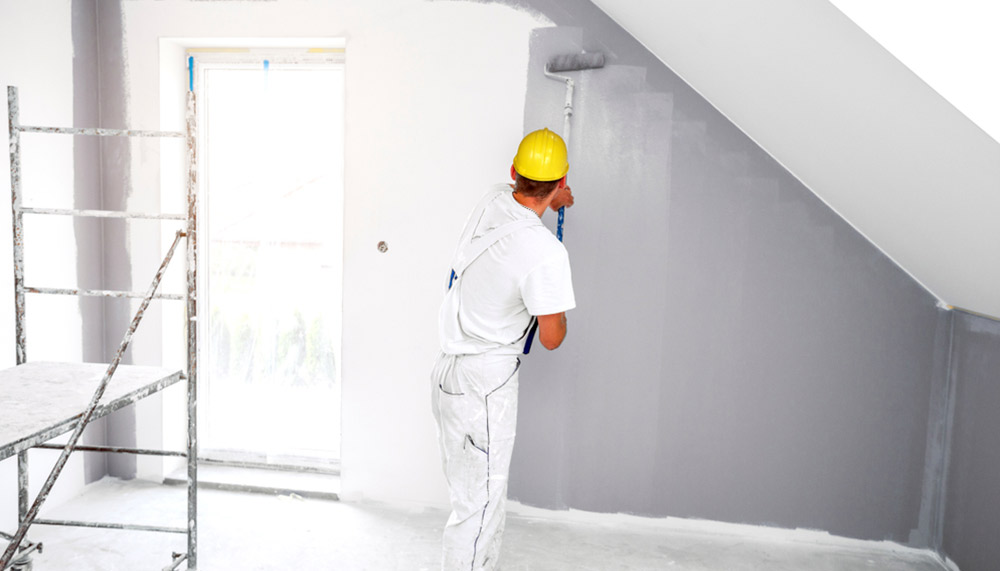
Before starting to paint, it’s important to determine the direction in which you will be applying the paint. Generally, it is recommended to paint from top to bottom, starting with the ceiling and then moving to the walls. This prevents any accidental drips or splatters from ruining previously painted areas.
However, if you prefer to start with the walls, make sure to cover the floor and any furniture adequately to protect them from paint splatters.
Painting in a large square pattern
When tackling large surfaces, such as walls, it is best to employ a large square pattern technique. Start by painting a square of approximately three by three feet, covering the edges with a roller. Then, using vertical strokes, fill in the square, slightly overlapping each stroke to ensure even coverage.
Once the square is completed, move on to the next square, again starting with the edges and then filling it in. This technique helps maintain a consistent texture and avoids any visible brush or roller marks.
Watching for ridges and smoothing them
As you paint, it is important to keep an eye out for ridges or marks left by your roller or brush. These can occur when the application of paint is uneven or when too much pressure is applied.
To fix ridges, simply pass over the area lightly with your roller or brush, using smooth strokes in the same direction as the rest of the painted surface. Make sure to blend the fresh paint seamlessly with the rest of the area to avoid any noticeable differences in texture.

Corner painting
When it comes to painting corners, using an angled brush is key. Start by painting the corners with a brush, carefully applying an even coat of paint. To avoid any drips or runs, use a smaller amount of paint on the brush and apply it in thin, controlled strokes. Take your time to ensure that the paint reaches all the edges and corners without smudging onto the adjacent surface. It may be helpful to use a painter’s tape to protect the adjacent wall or trim from accidental paint marks.
Cutting in with a brush
Cutting in refers to the technique of painting along the edges of a surface, such as where the wall meets the ceiling or where two walls meet. This method creates a clean and precise line without the need for painter’s tape. To cut in, use a smaller brush with a sharp edge and load it with a small amount of paint. Hold the brush at a slight angle and carefully paint along the edge, maintaining a steady hand. Take your time to achieve a neat line and remember to blend the cut-in area with the rest of the surface for a seamless finish.
TIPS AND TRICKS
Painting may seem straightforward, but there are several tips and tricks that can enhance your painting experience and help you achieve professional results. From protecting painted walls to using painters tape, subscribing to helpful YouTube channels to getting free estimates for painting services, these tips and tricks will guide you through your painting journey.

Protecting painted walls
Once your walls are beautifully painted, it’s essential to protect them from scratches, scuffs, and other damage. One way to do this is by adding a clear coat of protective sealant. This not only adds a layer of durability to your paint but also makes it easier to clean. Additionally, consider using corner guards, especially in high-traffic areas or where furniture might come into contact with the walls. These guards can prevent accidental bumps and chips, keeping your walls looking fresh and pristine.
Using painters tape
Painter’s tape is a valuable tool in achieving clean, crisp edges when painting. It is especially useful when cutting in or when painting areas with intricate designs or multiple colors. Before applying the tape, make sure the surface is clean and dry to ensure good adhesion. Apply the tape along the edge that you want to protect, making sure it is firmly pressed against the surface. Once the painting is complete and the paint is dry to the touch, carefully peel off the tape at a 45-degree angle to reveal sharp, clean lines.
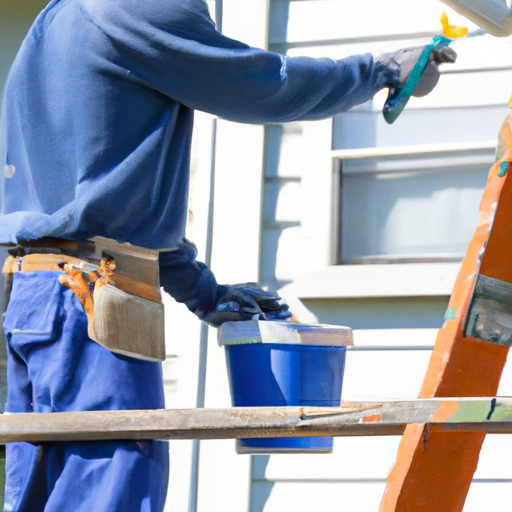
Getting free estimates for painting services
If you find yourself overwhelmed or simply prefer to leave the painting to the professionals, getting free estimates for painting services can save you time and effort.
Remember to choose a licensed and insured painting contractor like A CLEAN LOOK for a worry-free experience.
In conclusion, choosing the right paint equipment, mastering essential painting techniques, and implementing valuable tips and tricks can help you achieve exceptional results when painting a room.
Whether you decide to tackle the project yourself or seek professional assistance, remember to approach the task with patience, creativity, and a friendly smile. Happy painting!
To paint a ceiling, you will need the following paint equipment:
- 18″ wide body roller frame
- 18″ roller sleeve
- Deep tray
- Paint strainer
- Handy paint pail
- Pail liners
- 3″ angled paint brush